LPL financial advisors can now download their client accounts directly into LifeYield. This document provides a step-by-step process for adding LPL accounts and their holdings from Client Works into LifeYield.

Step 1 - Client Works Investments tab
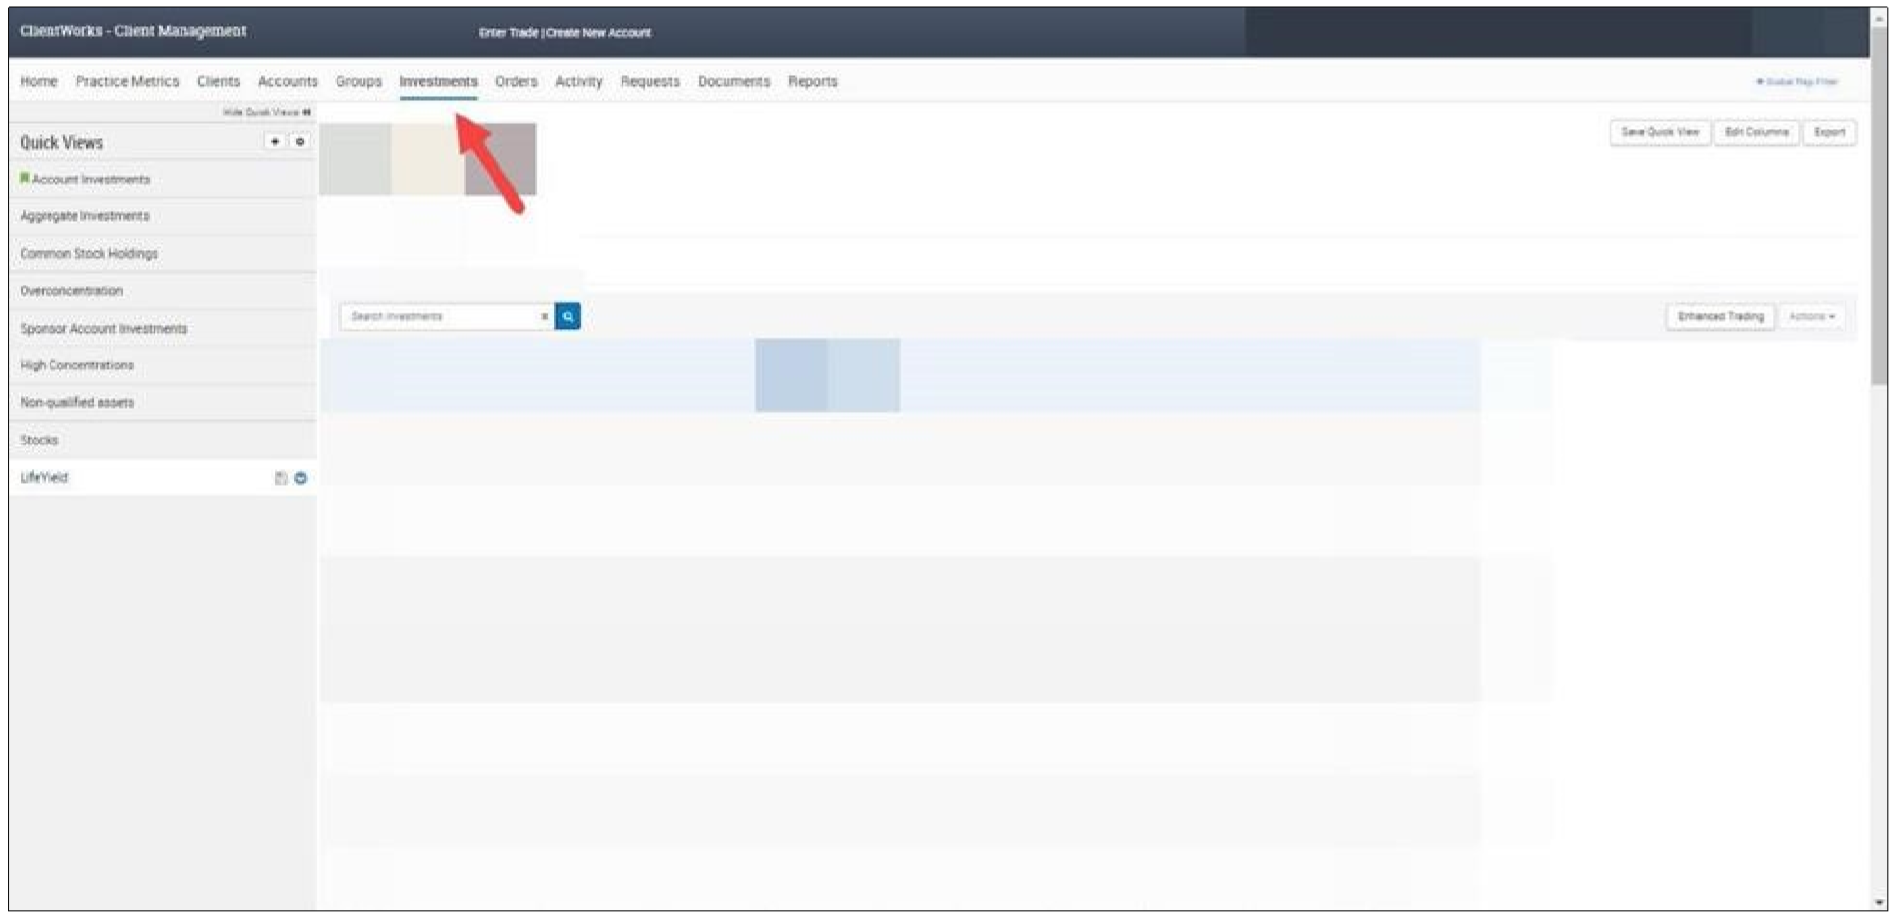
Begin the process by logging into Client Works and selecting the "Investments" tab.
Step 2 - Create a Quick View
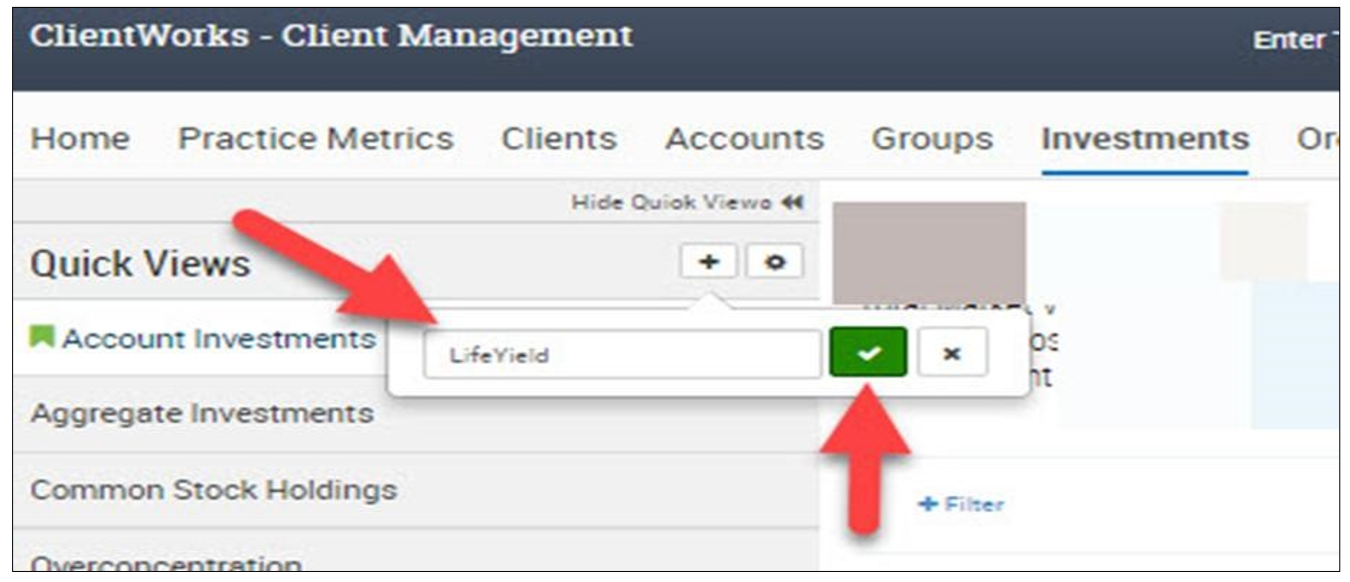
Create and name a Quick View. By creating a Quick View you will not need to redo Step 3 each time you access Client Works.
Step 3 - Add columns needed for a LifeYield upload
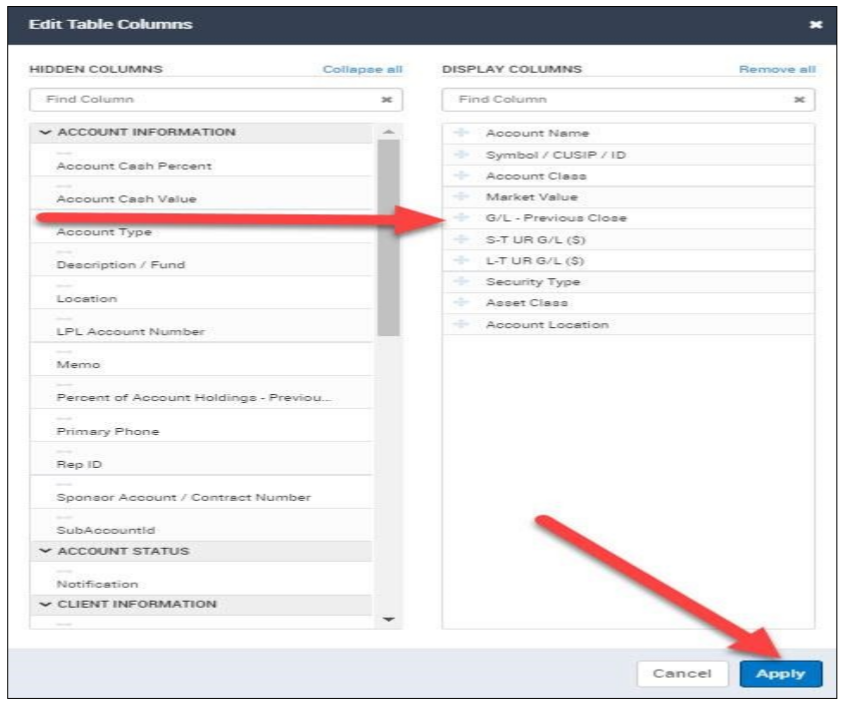
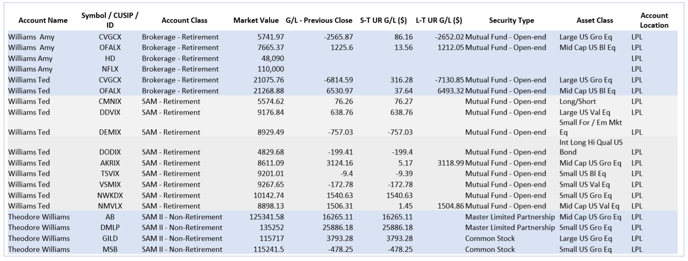
While in the LifeYield Quick View, edit your columns to produce only the information that LifeYield needs. A sample output document is provided below for your reference.
Step 4 - Select your client or clients if creating a household
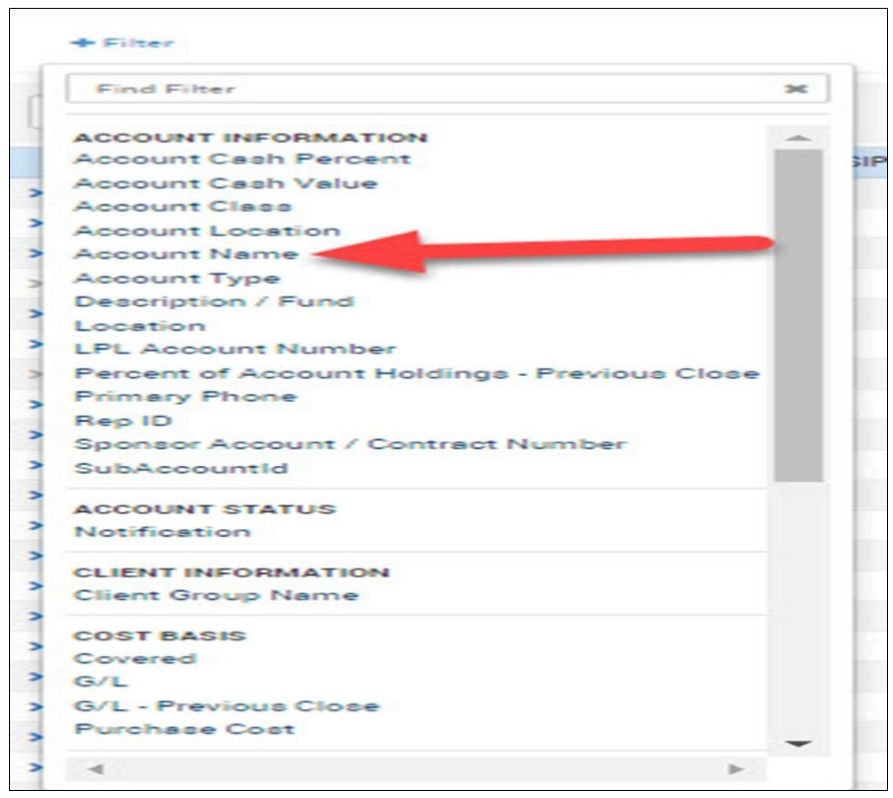
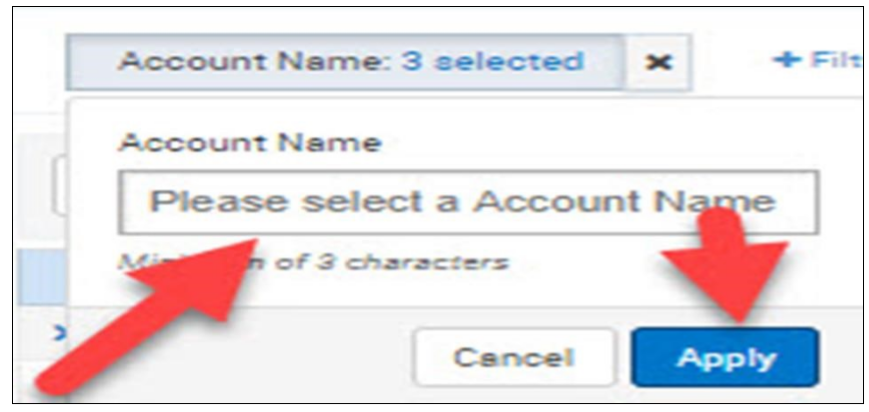
While in the Quick View, navigate to the filter function. Select "Account Name" and choose the client name that you would like to filter (or client names if creating a household portfolio).
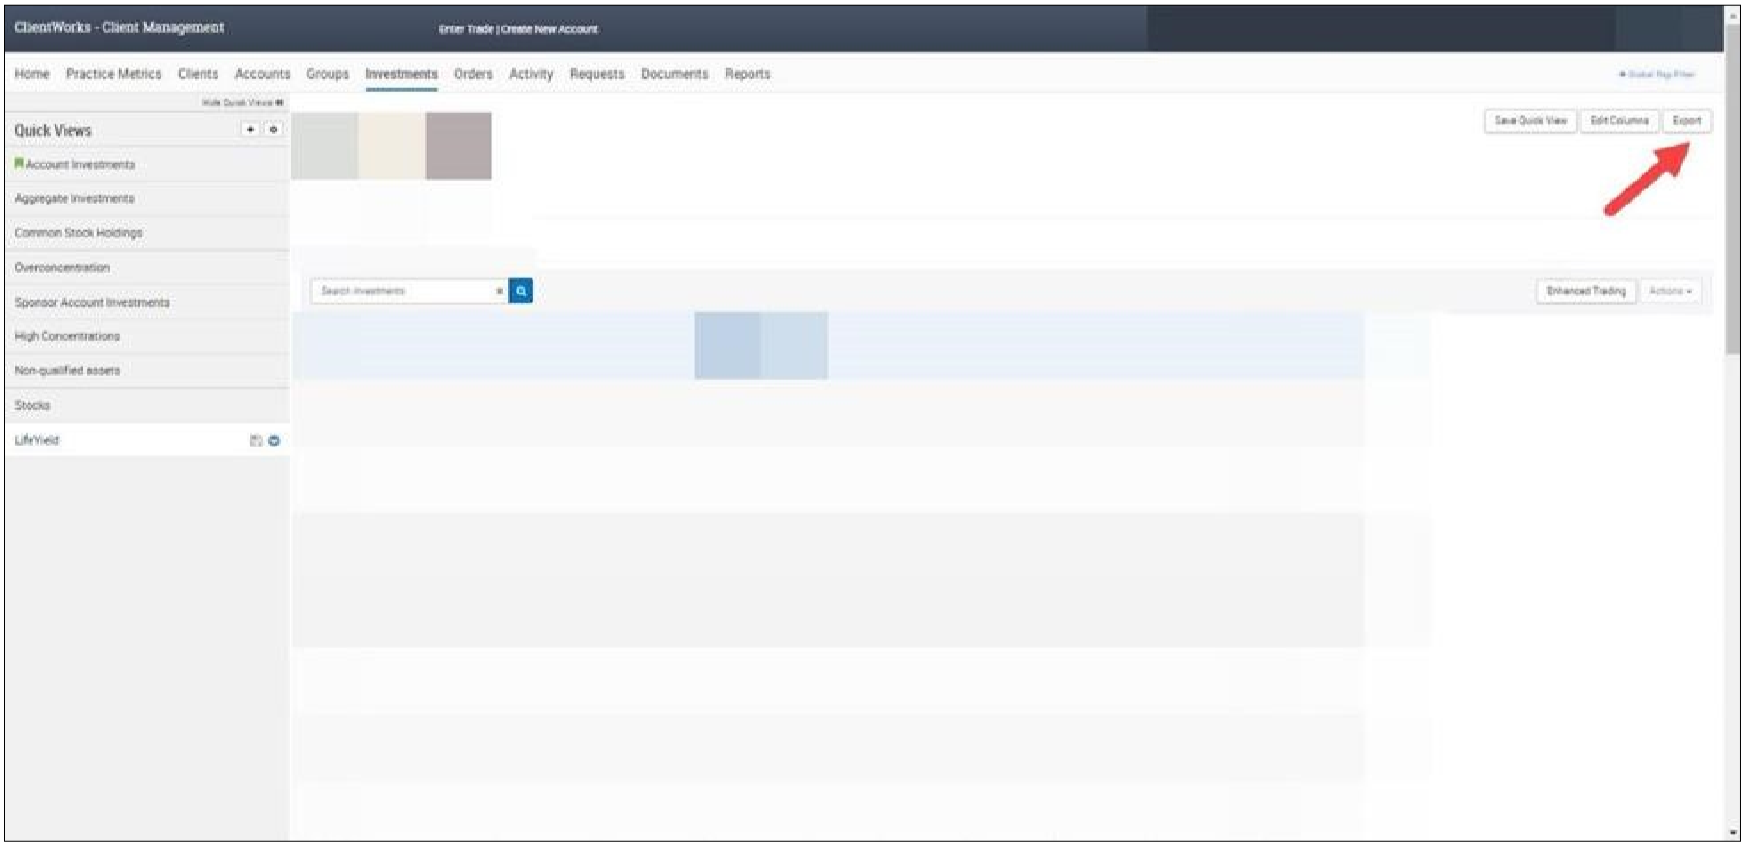
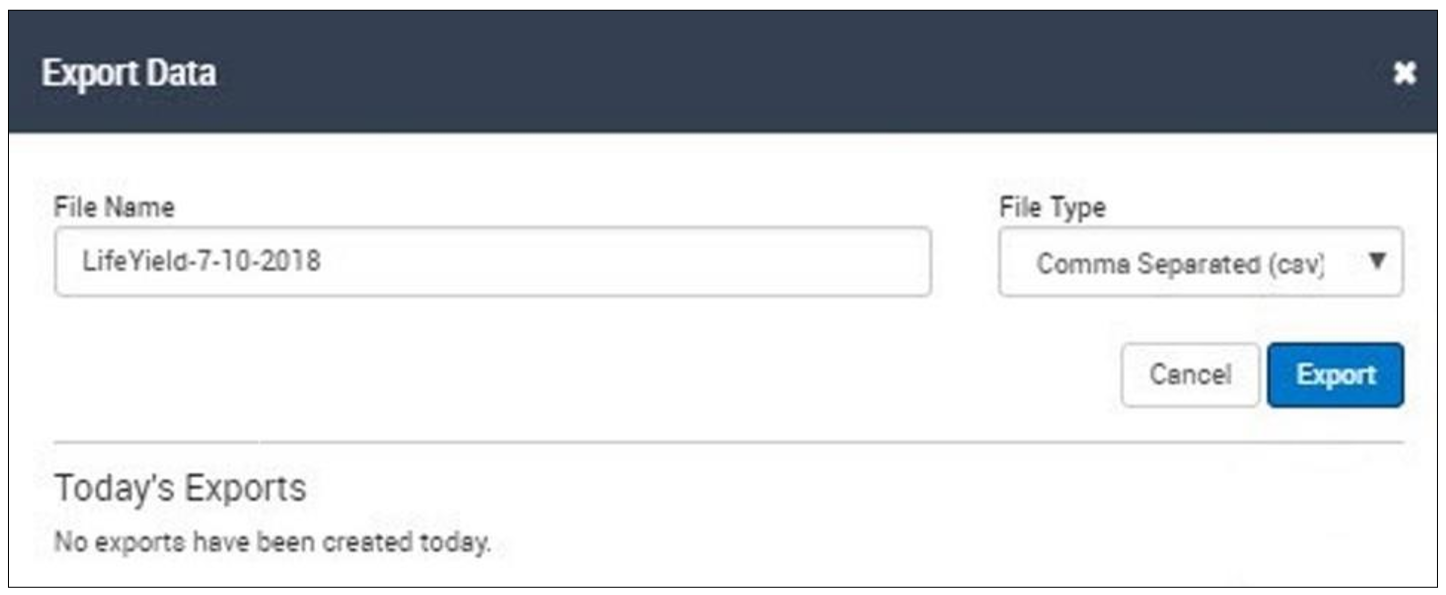
Step 5 - Export a CSV excel file from Client Works
Name and export your file. Change the document type to CSV and export. Save the file in a folder on your computer.
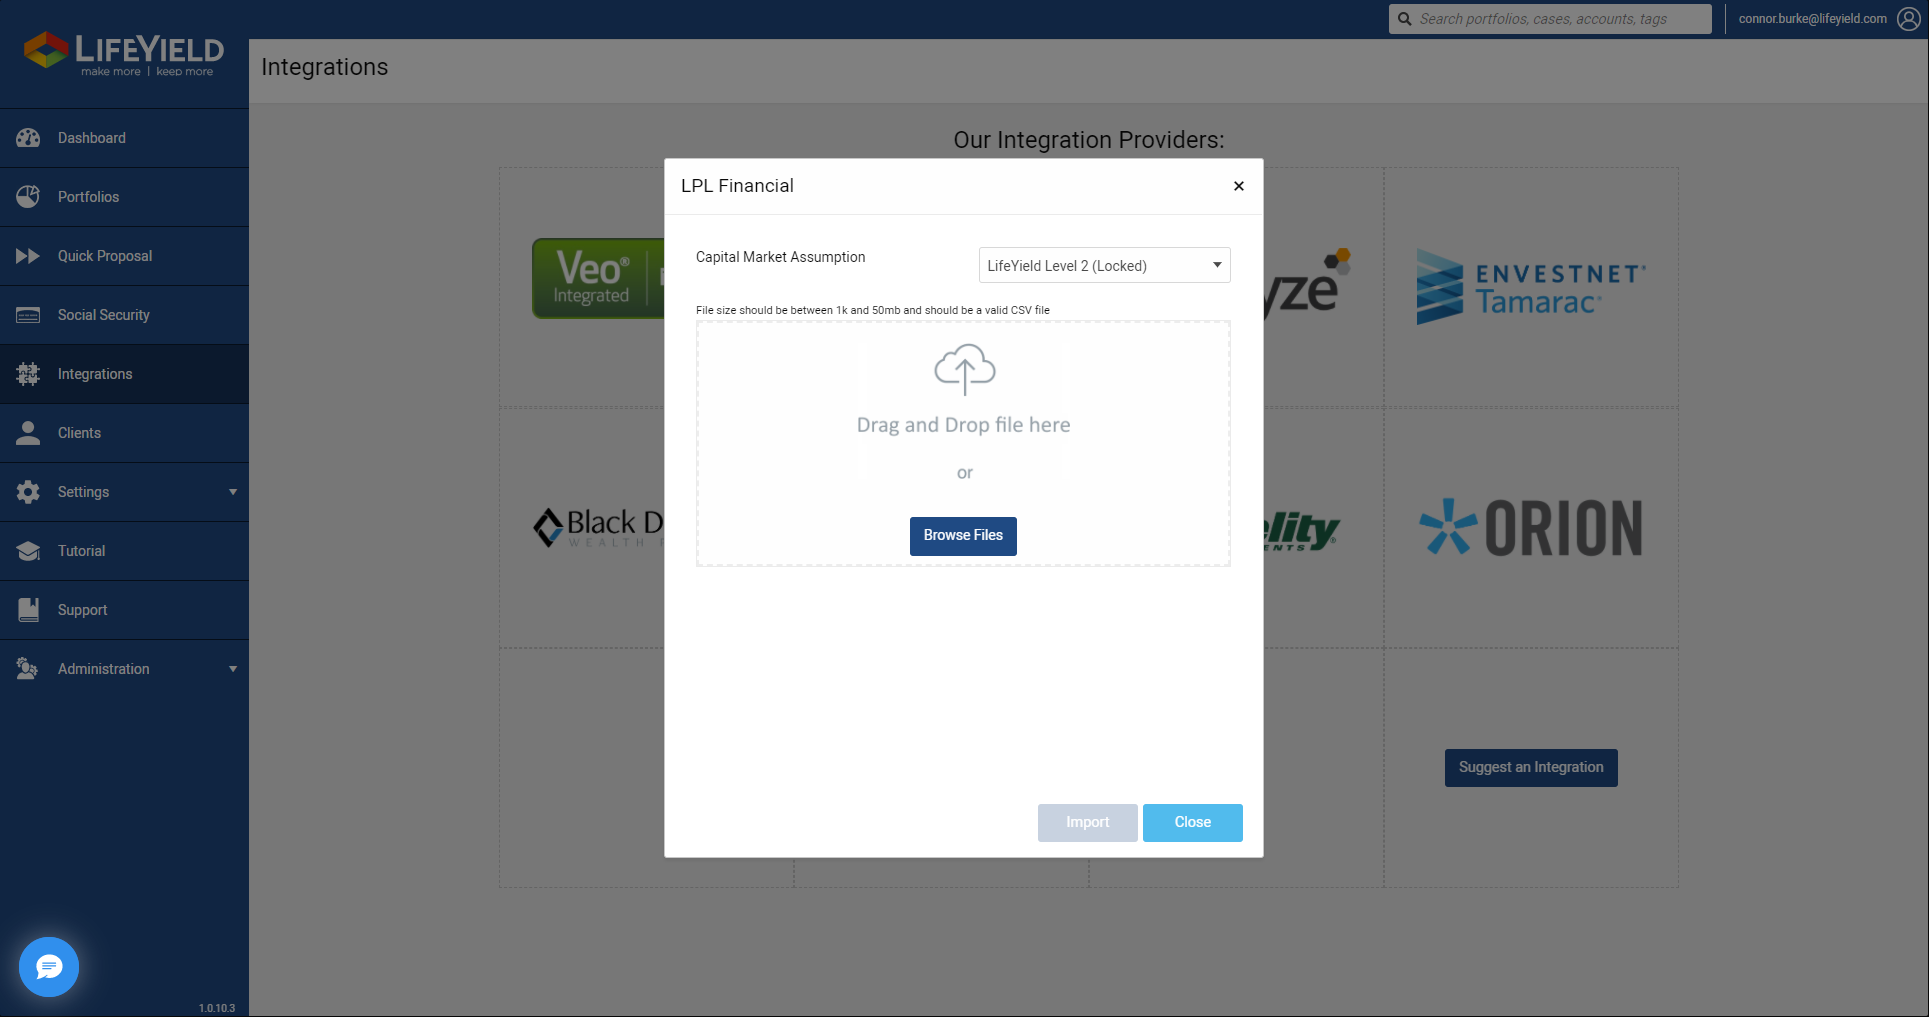
Step 6 - Login to LifeYield and select the integrations tab on left
Login to your LifeYield account and navigate to the integrations tab which will be found on the left hand side of the interface. When the page opens click on the LPL Financial logo. A pop-up window will appear. Select the appropriate Capital Market Assumptions set, and upload the file from Client Works by browsing or dragging and dropping in the open window.
Step 7 - Review Portfolio Upload
After you upload the CSV excel file your portfolio will display. Make sure to review that the information imported correctly. All LPL accounts will be labeled in the accounts section of the client's portfolio.